The graph
It is a decentralized protocol that is helpful for querying and indexing the data in the blockchain.
Querying basically can be compared to writing queries in SQL database in order to fetch the information. Similarly indexing means improving the speed of access of data from the database by maintaining an index table so that we can narrow down the search area of the database.
Coming back to the blockchain as we know that blockchain is also in some way a decentralized database and if we consider Ethereum then we literally deploy smart contracts and store data inside it using state variables.
Ok lets consider an example. Let us build a simple ERC20 smart contract in which the user has two functions: minting tokens and transferring to other account addresses. Now lets say we want to get some user information. We can perform the read operations that are programmed directly in the smart contract to get basic information such that the amount of tokens the account address holds, total supply of the contract etc... . However lets say we want to get back information for our application regarding the total transfers that the user account made to other account addresses filtering based on some minimum amount of tokens transferred. Hence this complex task cannot be achieved natively with the help of the simple built-in operations. Hence we need some protocol to enable performing these complex tasks on the blockchain: aggregation, search, relationships and non-trivial filtering.
Enter the graph.
Let us answer the question of how it works in simplified steps:
- Ok so we make transactions to the blockchain and interact with the smart contract. Now these transactions emit the events in its processing. If thousands of users communicate with the smart contract there are thousands of such transactions and events emitted.
2)We as a developer need to define what Ethereum data we need to index and how to index it. For that we make a YAML file called manifest that gives a structure to make the indexing easier. It describes the smart contract of interest, events in the contract to pay attention to and most importantly how to map event data to the data in a proper format so that the data can be stored inside the graph database. This indexing is done with a group of people known as indexers.
3)In order to index the Ethereum network it requires continuous scanning of the blockchain. This is done with the help of the graph node. The graph node scans the blockchain for new blocks and the data for your subgraph. Also this node maps the data from the different format to a format in which the node can store the data.
- Finally from the user point of view they use the GraphQL API enpoint and write queries in order to fetch the data that is stored inside the graph node database. The Graph node in turn translates the GraphQL queries into queries for its underlying data store in order to fetch this data.
A lot of discussion regarding the theory has taken place and now its time to get back to coding and then again we can discuss a lot of points later.
Let us build a subgraph. The steps are extremely simple just go to the hosted service URL and sign in with GitHub and then enter the necessary details to create a subgraph.
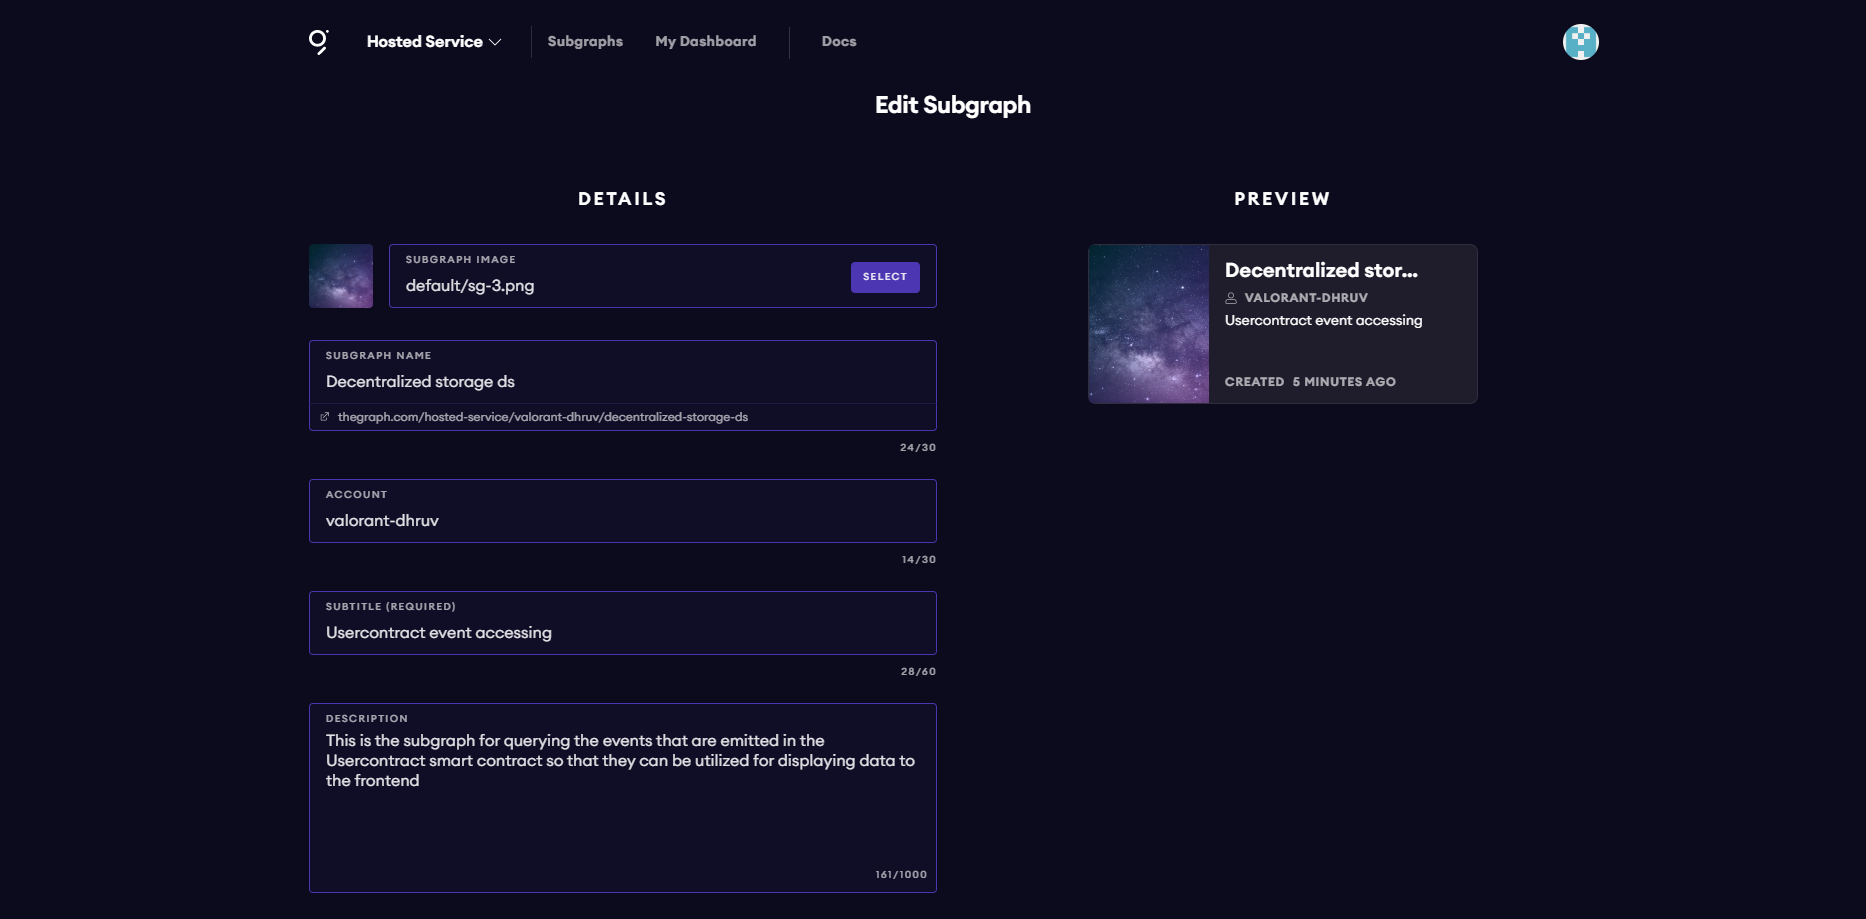
Currently the subgraph is undeployed. We need to follow the next steps to deploy it.
What is a subgraph?
A subgraph extracts data from a blockchain processing it so that it can be easily implemented with the help of GraphQL.
Now the next steps are first is installing the Graph CLI. The cli is useful so that we can build and deploy the subgraphs.

Now we use the graph init command. It is the command that can be used to set up a new subgraph project. We can create a new project from an existing smart contract that is deployed on any of the public Ethereum networks.
For our smart contract we write the command as:
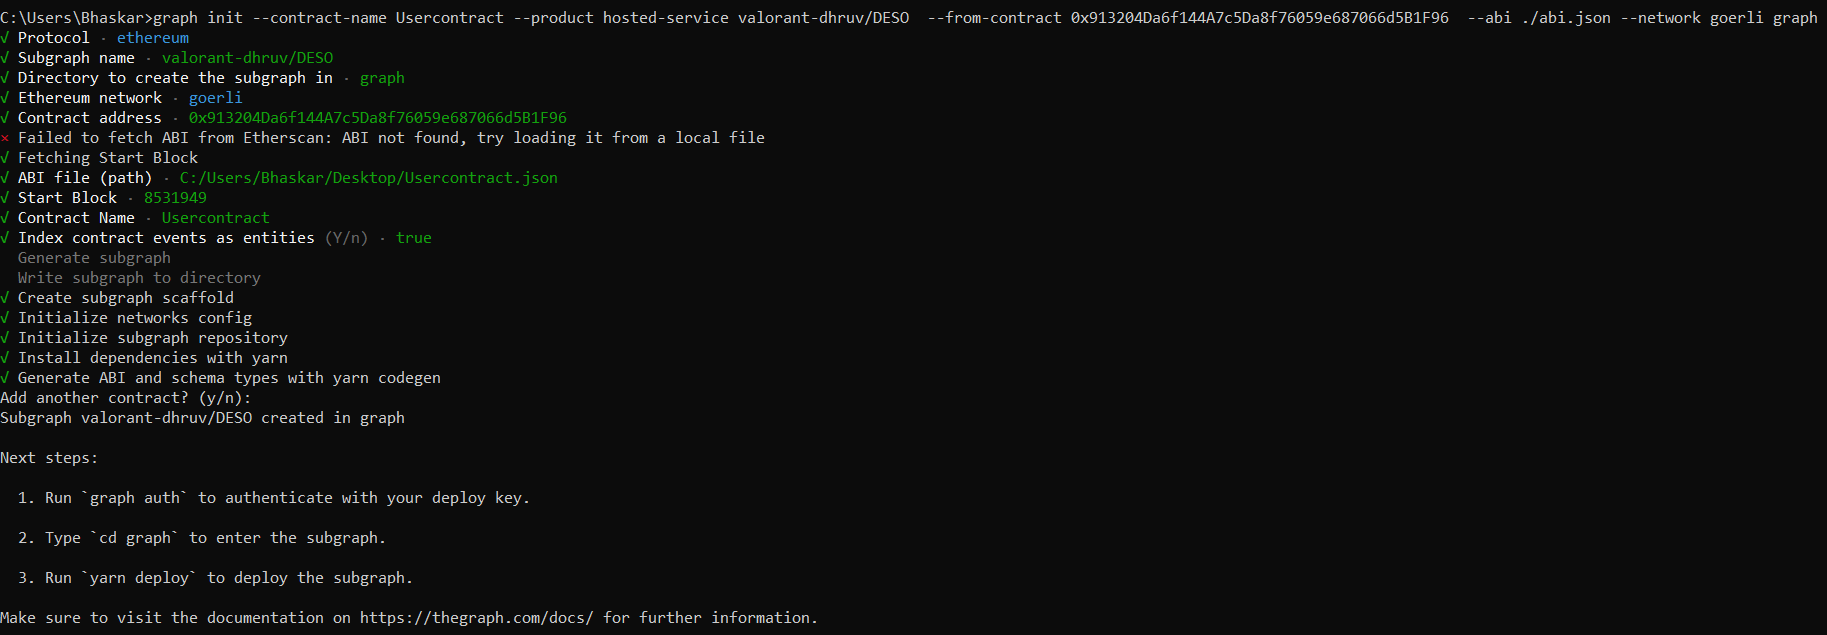
Now that we have created a scaffold of our subgraph the next step is to authenticate the user. For that we have another command
graph auth --product hosted-service accesstoken
Now we need to deploy the subgraph.
The command for deploying is:
graph deploy --product hosted-service valorant-dhruv/decentralized-storage-ds
Once the subgraph has been deployed we can go to this website where we created the subgraph and it provides a UI for testing the graphQL API.